How to Quickly and Efficiently Install SPC Flooring?
SPC Flooring Installation Guide: How to Install SPC Flooring with step-by-step DIY instructions, tools list, costs, and tips for a fast, easy, durable
As modern home renovations increasingly prioritize aesthetics, durability, and sustainability, SPC flooring (Stone Plastic Composite Flooring) has become a popular choice among homeowners and commercial property owners alike. Known for its exceptional waterproof performance, durability, and dimensional stability, SPC flooring offers an ideal solution for a wide range of interior applications.
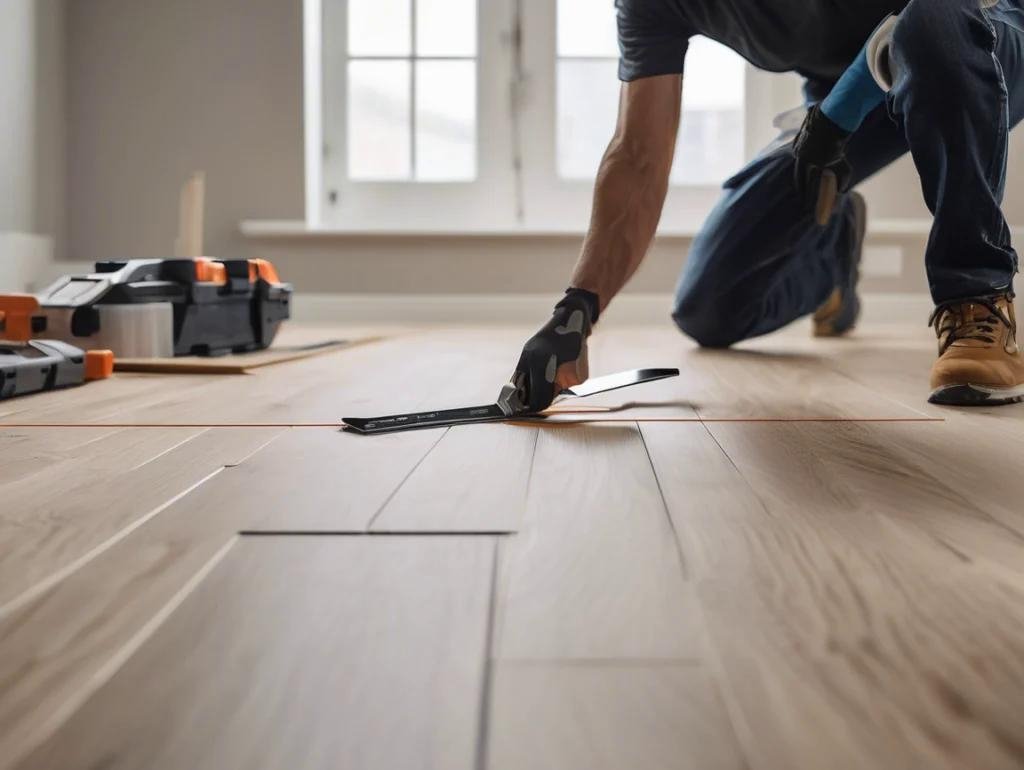
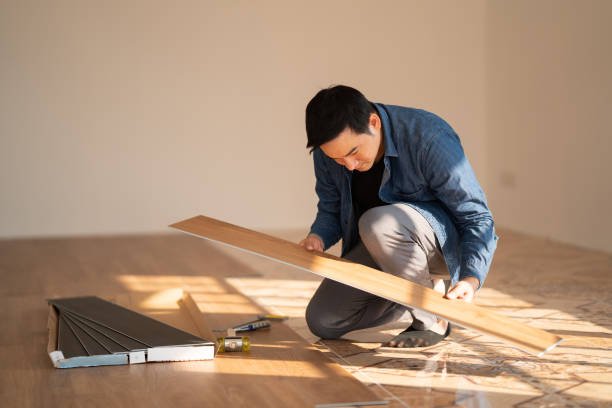
One of the biggest advantages of SPC flooring is its ease of installation. Featuring an advanced click-lock system, SPC flooring can be installed without glue, nails, or complicated tools. Most rooms can be completed within a single day, making it a perfect option for DIY enthusiasts who want to save on installation costs while achieving professional-looking results.
Table of Contents
In this guide, we’ll walk you through the installation process, required tools, common mistakes to avoid, and cost estimates to help you complete your flooring project quickly and efficiently.
What Do You Need Before Installing SPC Flooring?
Before starting the installation, prepare the following tools and materials:
| Item | Purpose | Estimated Cost |
|---|---|---|
| SPC Flooring Planks | Main flooring material | $2–$5 per sq. ft. |
| Underlayment | Noise reduction, cushioning, and leveling | $0.20–$0.50 per sq. ft. |
| Rubber Mallet | Assists click-lock installation | $15–$25 |
| Utility Knife | Cutting planks | $5–$15 |
| Tapping Block | Protects locking edges | $10–$20 |
| Spacers | Creates expansion gaps | $5–$10 |
Step-by-Step SPC Flooring Installation Guide
Step 1: Prepare the Subfloor
Proper floor preparation is essential for long-term performance and a smooth installation.
Clean the Surface
Sweep or vacuum the area thoroughly to remove dust, debris, sand, and dirt. In some cases, the floor can be washed with water and allowed to dry completely before installation.
Check Floor Levelness
Use a level to inspect the subfloor. Any depressions or uneven areas exceeding 3 mm should be repaired and leveled before installation.
Install Underlayment
Cut the underlayment to fit the room dimensions and secure seams with tape. A quality underlayment helps reduce noise, improve walking comfort, and extend the lifespan of the flooring.
Step 2: Plan the Layout
Proper planning minimizes material waste and improves the final appearance.
Dry Fit the Planks
Lay out several rows of planks without locking them together to visualize the layout and determine edge cuts.
Choose the Installation Direction
For the best visual effect, install the flooring parallel to the longest wall in the room.
Leave Expansion Gaps
Place spacers along the perimeter walls to maintain a 1/4-inch (6 mm) expansion gap, allowing the flooring to expand and contract naturally.
Step 3: Install the SPC Flooring
This is the most important stage of the installation process.
Install the First Row
Position the groove side of the plank facing the wall and ensure the first row remains perfectly straight.
Lock the Planks Together
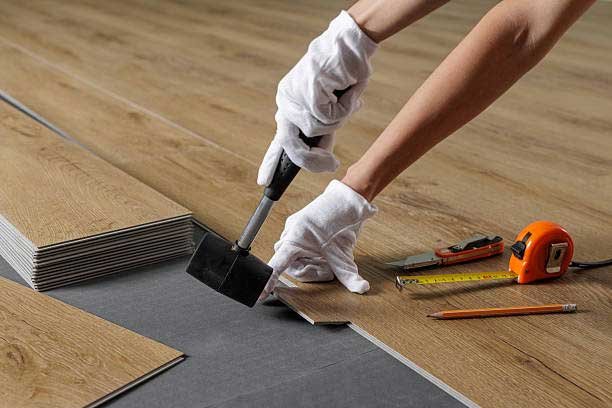
Insert the tongue of the new plank into the groove of the previous plank at an angle, then press down to lock it into place.
Secure the Joints
Use a tapping block and rubber mallet to gently tap the joints, ensuring a tight and gap-free connection.
Stagger the End Joints
For better structural stability and appearance, stagger adjacent rows by at least 6 inches (15 cm).
Step 4: Cut Around Obstacles
Special areas such as pipes, door frames, corners, and vents require precise cutting.
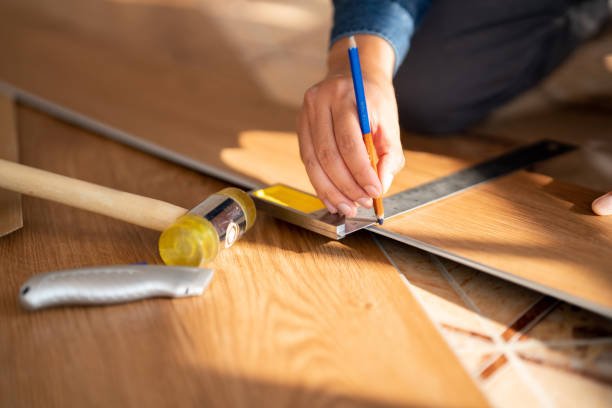
Measure and Mark
Carefully measure the required dimensions and mark them on the plank surface.
Cut the Planks
Use a utility knife, jigsaw, or suitable cutting tool to create accurate cuts and ensure a snug fit.
Step 5: Complete the Finishing Work
Remove the Spacers
After all flooring planks have been installed, remove the spacers around the perimeter.
Install Baseboards or Trim
Cover the expansion gaps with baseboards, quarter-round molding, or transition strips to create a clean, finished appearance.
Common SPC Flooring Installation Mistakes
❌ Skipping the Underlayment
Without underlayment, the floor may feel less comfortable underfoot, generate more noise, and reveal minor subfloor imperfections.
❌ Ignoring Expansion Gaps
Temperature and humidity changes can cause flooring expansion. Without sufficient expansion space, the floor may buckle or warp.
❌ Forcing Planks Together
Excessive force can damage the click-lock mechanism and reduce the flooring’s long-term performance.
Why Is SPC Flooring So Easy to Install?
Click-Lock Installation System
No glue, nails, or specialized equipment are required. Simply click the planks together.
No Mortar or Grout Needed
Unlike ceramic tile installation, there is no curing time and minimal cleanup.
Floating Floor Design
SPC flooring can be installed directly over many existing surfaces, including tile, wood, and concrete.
Easy Cutting
Most cuts can be made using a standard utility knife, eliminating the need for expensive power tools.
Estimated Cost for a 200 sq. ft. Room
| Item | Estimated Cost |
| SPC Flooring | $400–$1,000 |
| Underlayment | $40–$100 |
| Tools | $30–$70 |
| Total Cost | $470–$1,170 |
Compared to professional installation, DIY installation can typically save between $500 and $1,500 in labor costs.
When Should You Hire Professional Installers?
Although SPC flooring is DIY-friendly, professional installation may be a better option for:
- Large commercial flooring projects
- Staircases and irregularly shaped spaces
- Areas with severely uneven subfloors
- Large open-plan layouts
Professional installers can often complete a standard room in just 2–4 hours.
Pro Tip: Purchase approximately 10% more flooring than your calculated area to account for cutting waste and future repairs.
————
Thanks to its waterproof performance, durability, low maintenance requirements, and simple installation process, SPC flooring has become a preferred flooring solution for homes, offices, retail stores, hotels, and commercial spaces.
Whether you’re an experienced DIY enthusiast or a first-time installer, you can successfully transform your space over a weekend with basic tools and proper preparation.
If you’re looking for a flooring solution that combines easy installation, cost efficiency, long-lasting performance, and modern aesthetics, SPC flooring is undoubtedly an excellent choice.
Faq
Can SPC flooring be installed by yourself?
Yes. SPC flooring is designed with a click-lock system, making it one of the most DIY-friendly flooring options available. Most homeowners can install SPC flooring using basic tools such as a utility knife, rubber mallet, tapping block, and spacers without the need for glue or nails.
Do I need underlayment for SPC flooring?
In most cases, underlayment is recommended because it helps reduce noise, improves walking comfort, and smooths minor subfloor imperfections. However, some SPC flooring products come with a pre-attached IXPE or EVA underlayment, eliminating the need for an additional layer.
Can SPC flooring be installed over existing floors?
Yes. SPC flooring can typically be installed over existing surfaces such as ceramic tile, hardwood, laminate, vinyl, and concrete, provided the subfloor is clean, dry, and level. Significant uneven areas should be repaired before installation.
How long does it take to install SPC flooring?
The installation time depends on the room size and layout. For a standard 200-square-foot (18.6 m²) room, DIY installation usually takes 4–8 hours, while professional installers can often complete the job in 2–4 hours. Proper floor preparation can help speed up the process and improve the final result.